Knowledge Base Articles
- BobCAD-CAM V35
- Getting Setup
- Quick Tips & Tricks
- The BobCAD Basics
- Advanced Topics
- Computer Issues
- NC Editor
- Post Processor
- Our Forum
- BobCAD-CAM V36
The New BobArt
BobART has received a long overdue workflow overhaul to help you get the results you're looking for without the hassle!
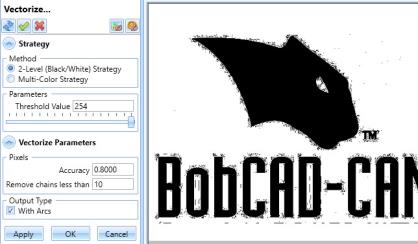
| When vectorizing images in the past, the Raster to Vector dialog was a floating window with a static image to give you an idea of the detail you were pulling from the image to create the geometry with. This method had its downsides as you could not adjust your view of the image being used. In this latest release the Vectorize dialog is opened directly in the Data Entry Manager which allows you to view the image in the graphics area as you normally would. Zoom in, Pan, and even Rotate to put as much focus on the area whichever areas interest you the most! | |
 |
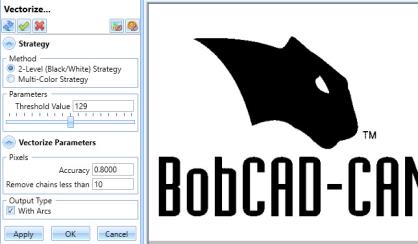 |
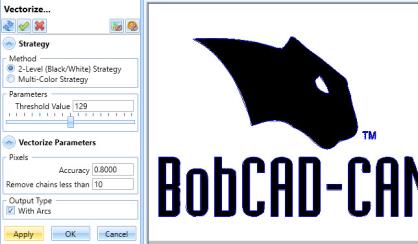
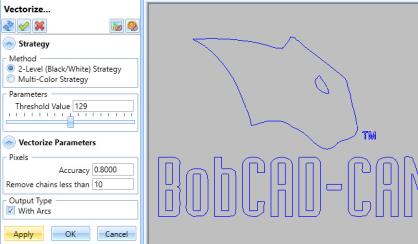
| Since previous versions did not allow you to zoom in on the image, vectorization may need to be done several times to get the desired results. In those circumstances you'd need to right-click the image and select Vectorize again to reopen the dialog, adjust results and click OK again to double check the results once more. In this version we did away with the tiresome back and forth and allow you to instantly review your results before you ever exit the Vectorize dialog. Simply click Apply, Blank the image, check your results in the graphics area and adjust as needed. Once you get the results you need, click OK and you're done. | |
 |
 |
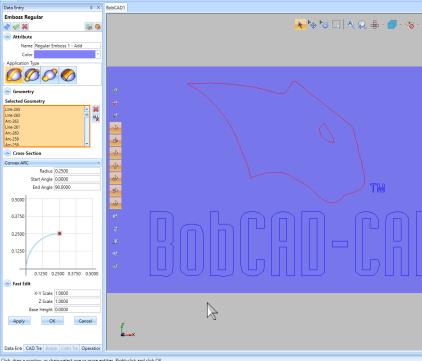
| With the new and improved BobART dialogs you can regenerate the canvas without exiting! In the past, creating emboss features consisted of selecting the feature, setting the parameters, exiting the dialog to add geometry to each of the applicable feature items in the BobART Tree, and then regenerating to view the result. This could be a little frustrating, especially if you needed to adjust the selected geometry and the parameters. Now, you deal with a single dialog and can make sure you're happy with the result before you ever exit! | |
 |
 |
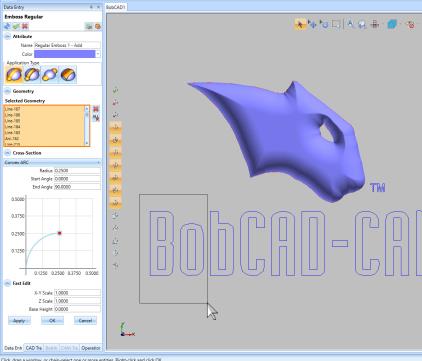
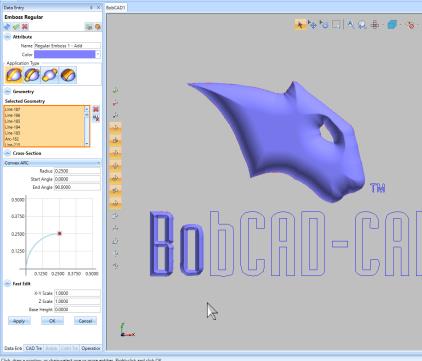
| To improve an already amazing workflow, we've added automatic regeneration! Once you think you think you have the parameters where you 'd like them, click Apply to update the canvas. Now, anytime you add geometry, the canvas is regenerated with the new geometry and with whatever parameters you may have adjusted in the meantime! | |
 |
 |
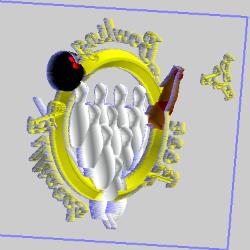
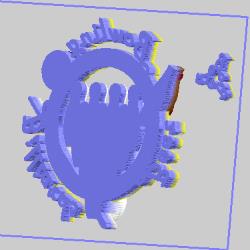
| Oh, and did we mention we now have a "Make as Solid" option? In the past, while you could do things to give a height to your model, extended walls were really the only thing added. You were still left with what was essentially a mesh surface draped down to the floor. Looking behind the model, as seen in the first image, it was apparent the mesh was not closed. With this new option, as you can see in the following image, the mesh is closed creating a water-tight mesh. This expands the possibilities of what can be done with your final model, and we've even added unit options allowing you to specify the units to use when exporting STL Components! | ||
 |
 |
 |
To see a full list of What's New in BobCAD-CAM V35, navigate HERE
If you need further assistance, please contact our support team at (727) 489 – 0003 or [email protected]
Created: April 5, 2023