Knowledge Base Articles
- BobCAD-CAM V36
- Getting Setup
- Quick Tips & Tricks
- The BobCAD Basics
- Advanced Topics
- Computer Issues
- NC Editor
- Post Processor
- Our Forum
How to Take Videos and Pictures in BobCAD Simulation
When trying to provide information to a customer, it can be useful to not only send the Solid Model of a part file but also an image of how the part will look after being machined. The Capture Picture (Graphics Area) and Capture Video command are both able to record information about the remaining stock that is being left over after machining out the part file. The instructions below will show the user how to use both of these commands.
Step-by-Step
1. After the toolpath has been created, start the simulation in BobCAD.
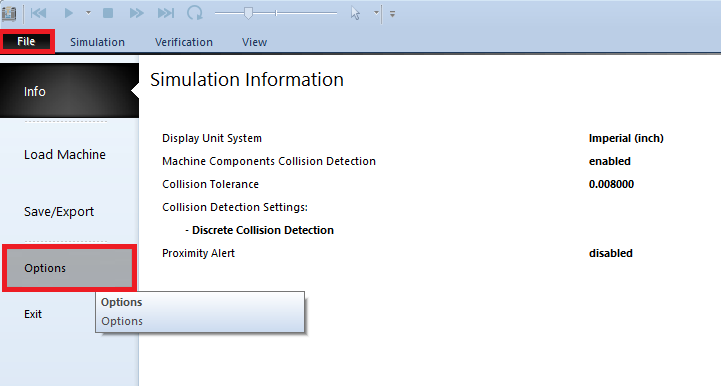
2. At the top left corner of the simulation, click on the File Button.
3. Next go to the Options Tab to open up the “Machine Simulator Options” menu
4. In the Machine Simulator Options menu, go to the Capture Tab
5. Take note of the General Output Location in the Capture tab because this is where all Capture Picture and Videos will be saved.
6. If the user wants to change the location of where the Capture Pictures and Video will be saved to then hit the ellipses next to the Output Location and select the folder that the images and videos should be saved to.
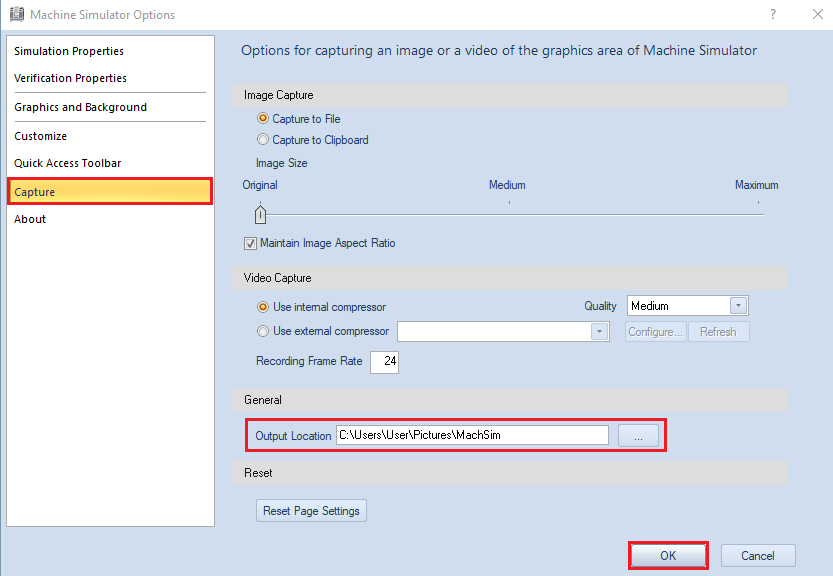
7. After setting up the Output Location, left click on the OK button to go back to simulation mode.
8. In the Simulation now go to the View tab and find the Capture Picture (Graphics Area) and Capture Video button.
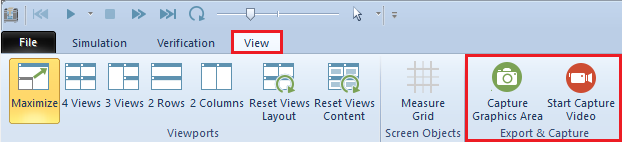
9. To use the Capture Picture (Graphics Area) feature, view the part in the orientation that the picture will be taken in, and prior to clicking on Capture Graphics Area run the simulation to get the part into the correct state for the picture.
10. To use the Capture Video feature, the user will have to hit the Start button and then run simulator for the duration of the video that is desired to be captured, once complete the stop button will need to be selected.
Note: If there is a long period of time between when the Start Capture Video is selected and the Simulation is actually ran, the video that is saved to the Capture Output Location in Step 5 will also show the long pause as well.
Note: that the video will capture the graphics area that is being viewed by the user during the run time of the Capture Video feature and so if the simulation is zoomed too close or far or rotated strangely then this will also show up in the video as well.
If you need further assistance, please contact our support team at (727) 489 – 0003 or [email protected]