Knowledge Base Articles
- BobCAD-CAM V36
- Getting Setup
- Quick Tips & Tricks
- The BobCAD Basics
- Advanced Topics
- Computer Issues
- NC Editor
- Post Processor
- Our Forum
How to Move Geometry to Same Z Plane (Failed in: Trim Error; Quick Trim Issue)
This article discusses how to easily move all your wireframe geometry (Lines, Arcs and Splines) to one singular Z plane. This will allow you to use the geometry modify functions such as Trim Two Entities, Quick Trim and the Break Entity functions.
The Issue:
Users may run into this type of issue when trying to use some of the modify entity functions such as Trim Two Entities or Quick trim. For Quick Trim, it may not trim the entities where you expected it to. For Trim Two Entities, you will get the error below: Failed in: Trim Two.
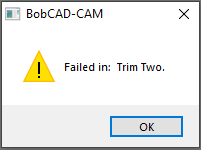
This issue can be caused by your geometry not being on the same Z plane.
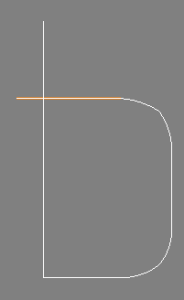
Let's use the geometry below as an example. Upon looking at the image, it appears as there isn't much wrong with the geometry.
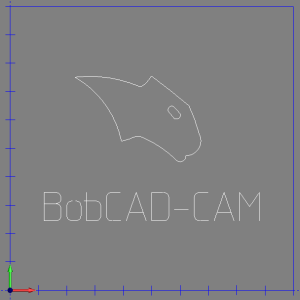
However, trying to use "Trim Two Entities" on the "o" gives an error:
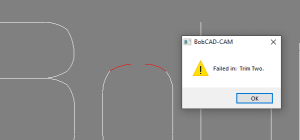
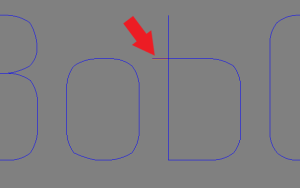
And, trying to do a "Quick Trim" on the "b" trims the whole entity away:
How to check the issue?
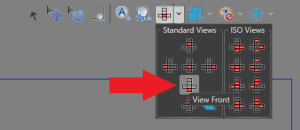
There is a really quick way to see if you might be running into this same issue. Simply change the view to a side or isometric view by going to the top middle bar in the graphics area and selecting a different view (see below).
Front View:

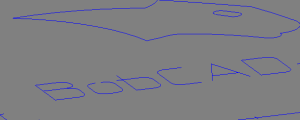
Isometric View:
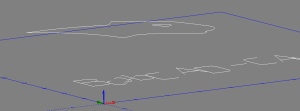
Checking our "o" and "b" geometry, we can instantly see the issue. The geometry is on different planes:

Important Note:
However, sometimes the difference in Z height may be so small that you can not visually see a difference. Right-click inside the graphics area and select "Entities Summary".
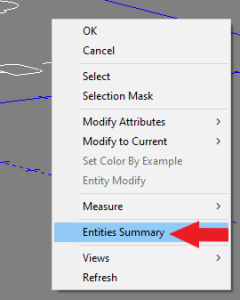
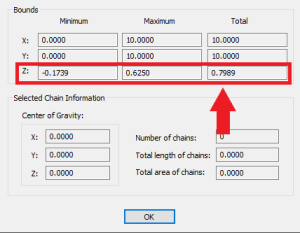
In the "Bounds" section, the Z Total value should read 0.0000. If it reads anything other than 0, this means you have geometry on different Z planes.
The cause of this issue can be many different things. You may have accidentally snapped to a point when using the "Translate" function that had a different Z plane height. You could have drawn on two separate UCS coordinate systems that had varying Z heights. At some point when you created the geometry in BobCAD, the Z heights got set to different Z planes.
The Solution:
The solution is to move all bad geometry onto the same Z Plane. Follow the steps below to do this:
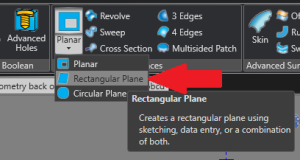
1. Go to Create 3D and select Rectangular Plane from the "Planar" drop-down box
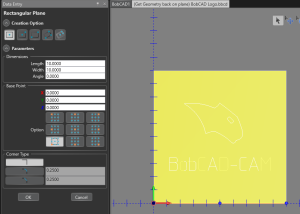
2. Create a Rectangular Plane that encompasses all desired geometry with the issue. Click OK
3. Create a New Layer by going to the "Layers" Window and selecting the ![]() New Layer button at the top left
New Layer button at the top left
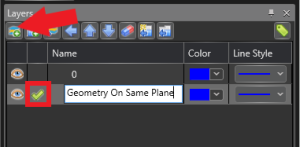
Note: Make sure the checkmark is located in the newly created layer so that the geometry created in the next step will all go to this new layer.
4. Go to Create 2D and select Project Curves. Drag a box over all geometry and only the Arcs, Lines and Splines will get selected for the "Select Curves to Project" box. Then, click on your Planar surface for the "Select Surface/Solid" box. Click OK
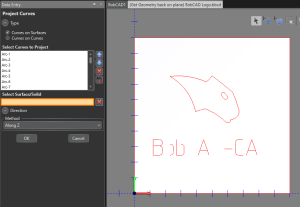
After blanking out the original layer, in the "Layers" window, below is the newly created geometry.
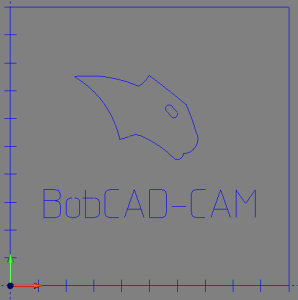
Your geometry on the new layer will now be all on the same Z plane.
You are now free to use Quick Trim and Trim Two Entities to modify the geometry with no issues.
If you need further assistance, please contact our support team at (727) 489 – 0003 or [email protected]
