Knowledge Base Articles
- BobCAD-CAM V36
- Getting Setup
- Quick Tips & Tricks
- The BobCAD Basics
- Advanced Topics
- Computer Issues
- NC Editor
- Post Processor
- Our Forum
Fit Text to A Curve
This document will explain how the “Fit Text to a Curve” function works inside of BobCAD. The Fit Text to a Curve function is used to move existing text to a defined position along a selected curve. To perform the function, you define the parameters, select the text to move, and then select the curve (and define the curve direction). Follow the steps below:
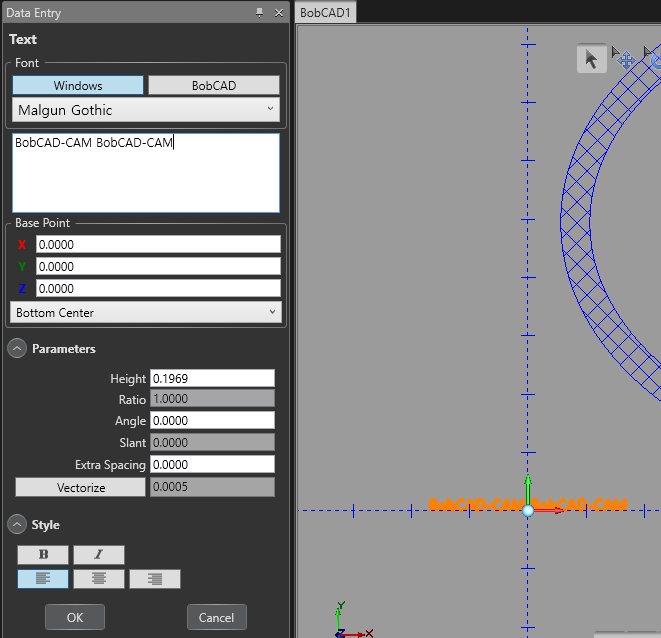
1. Go to “Create 2D” and select the “Text” button.
2. Type in the text you want to use in the box and adjust any settings you may want to change like the font, size, format of the text and press “OK” then “Cancel”.
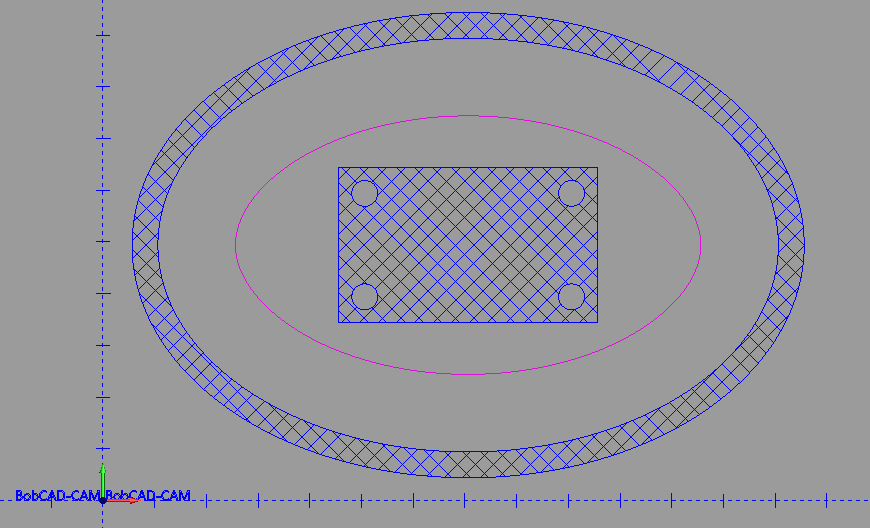
3. In the case below, if you wanted to place the text at the top middle of the highlighted ellipse, you would need to break the ellipse in half first.
Note: This is because the “Fit Text to a Curve” option has an option to move the text to the start, middle or end of the curve. We need to create a chain where the middle of the chain is where we want to position the text.
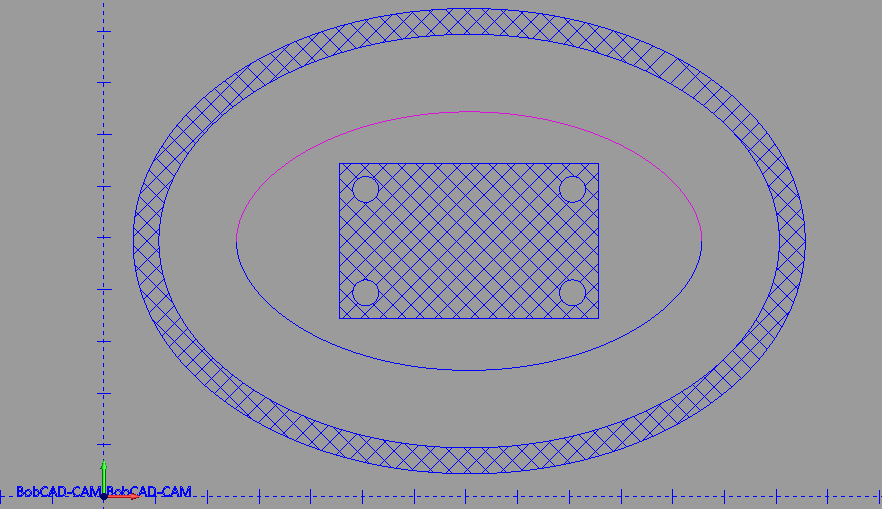
4. For this geometry, we go to the “Utilities” tab and select “Break Divide”. Make sure the number of divisions is 2, select the ellipse and press “OK” then “Cancel”.
You can see the result of the break in the picture below:
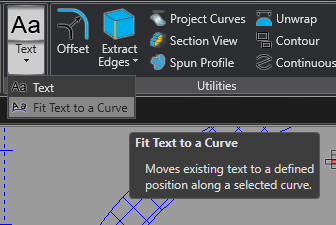
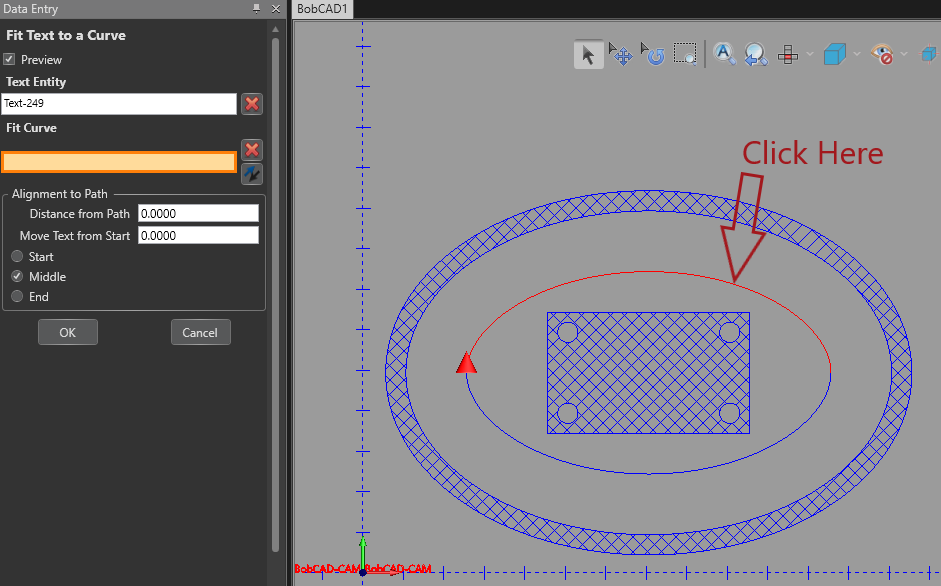
5. Go back up to the “Create 2D” tab and click on the text down arrow button. Select “Fit Text to a Curve”.
6. For the “Text Entity” box, select your text you created.
7. For the “Fit Curve”, it will matter which side of the arc you select first. If you click on the right half of the arc. It will create the start of the chain on the far-left side of the geometry and point the arrow towards the area you clicked (and vice versa).
8. Hold shift and click in the same location to complete the chain
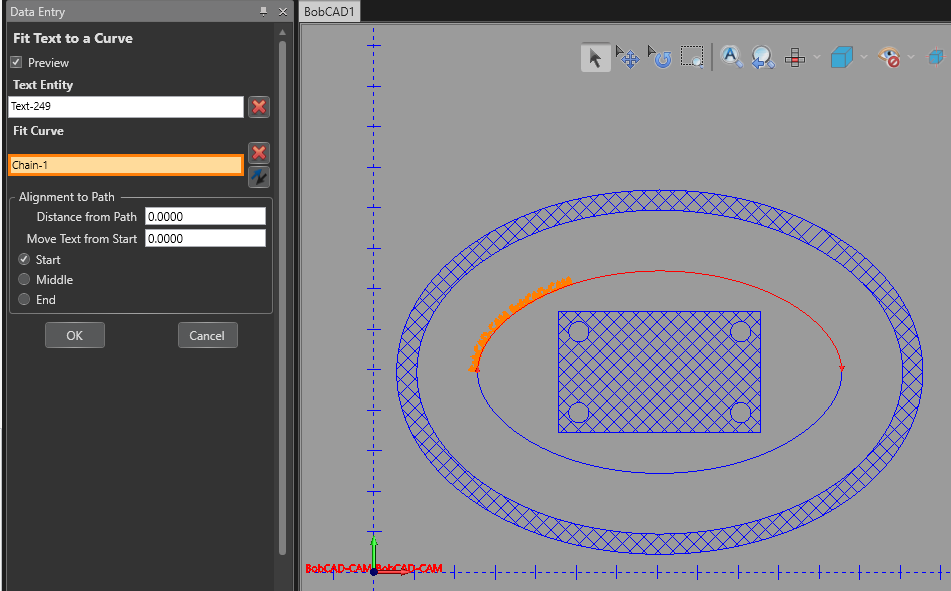
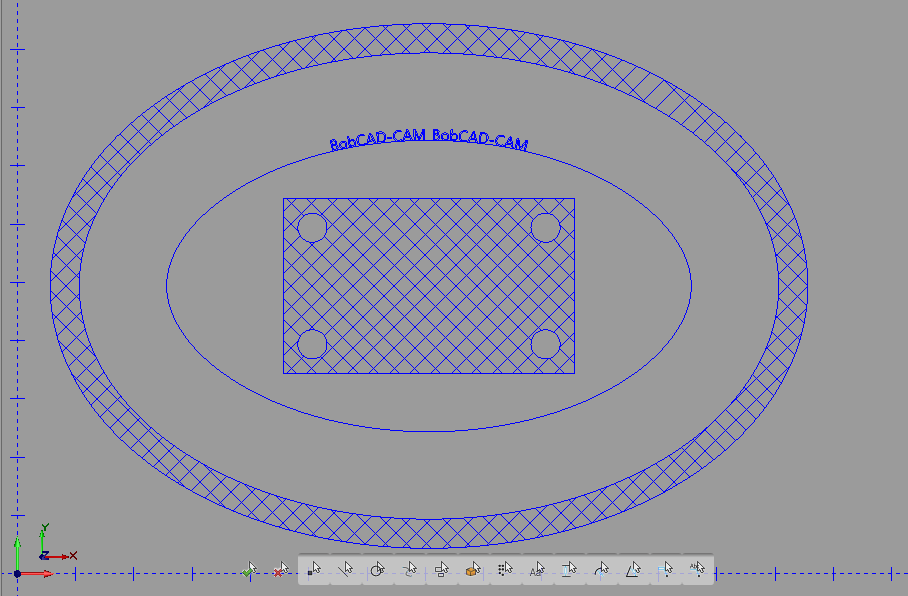
9. Adjust the location of the text by selecting “Middle”. Then, click “OK” then “Cancel”
If you need further assistance, please contact our support team at (727) 489 – 0003 or [email protected]